


Let Autofill and AI Do the Data Entry Work For You!

Table of contents
Do you regularly find yourself entering repetitive data or tedious formulas in your spreadsheets? You’re not alone. The following tips show you how to use Microsoft Excel’s classic Autofill mechanics alongside powerful new AI tools to quickly populate lists and complex formulas like a pro.
Excel can automatically continue a series (list) of numbers, dates, or time periods based on a pattern you establish. Beyond traditional pattern-matching and custom lists, Excel in 2026 integrates native AI capabilities that analyze your workspace intent, allowing you to instantly generate and autofill entire rows or columns with a single keystroke.
Whether you are dragging the classic fill handle or letting AI handle the formula replication for you, mastering these updated workflows will dramatically cut down your manual data entry time.
Understanding Autofill Basics
Autofill is a powerful feature in Microsoft Excel that allows you to quickly fill cells with data that follows a sequential pattern or is based on context from adjacent columns. To use Autofill effectively in 2026, you need to understand these four core mechanics:
- The Fill Handle: The small square located in the bottom right corner of a selected cell. Clicking and dragging it extends data patterns or replicates text across rows or columns.
- Flash Fill (Ctrl + E): Excel’s native pattern-recognition engine. Type an example of how you want your data combined or separated (e.g., merging “First Name” and “Last Name” columns), press Ctrl + E, and Excel instantly fills the rest.
- Copilot Formula Completion: Excel’s built-in AI assistant. When you type
=, Copilot analyzes your headers and context to instantly suggest an entire formula to fill the column without any dragging required. - Initial Data & Patterns: The foundational text or numbers you enter to establish a sequence. For basic lists like dates, a single cell is enough; for complex numerical series, you must provide a two-cell pattern for Excel to follow.
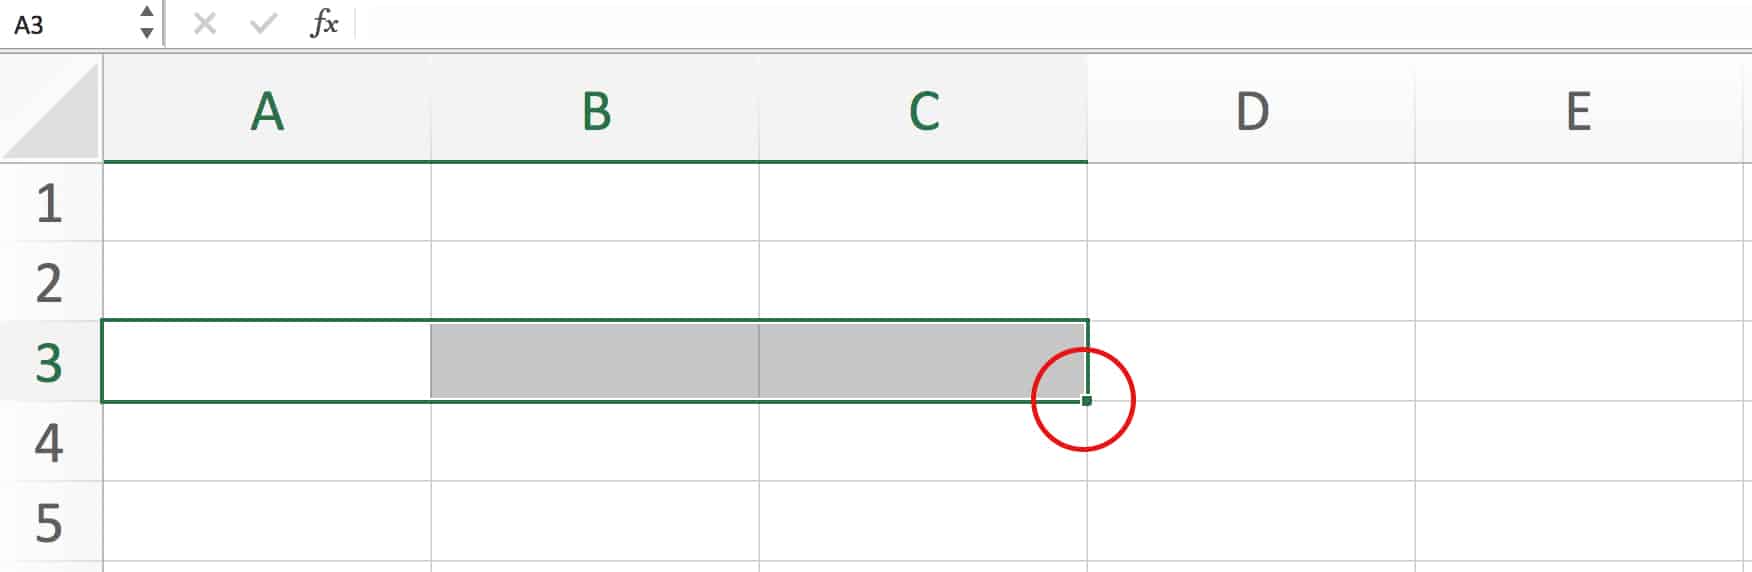
The Fill Handle
Invoke manual Autofill by selecting the appropriate cells and dragging the Fill Handle. It appears as a small square in the lower right-hand outline of your active cell selection and allows for quick drag-and-drop expansion of data.
You can drag the fill handle in any direction to manipulate your data range:
- Drag it down or up a column to populate data vertically.
- Drag it across a row to populate data horizontally (left or right).
Built-in AutoFill Examples
Excel can easily project a variety of numerical patterns using incremental values. The most common numerical task is to create a sequential count (e.g., 1, 2, 3, 4, 5).
However, if you enter a single number (such as “1”), select it, and drag the fill handle, Excel will simply copy that number down, filling all cells with “1”. To tell Excel to count sequentially instead of copying, you must establish a clear pattern first:
- Type “1” in your first cell.
- Type “2” in the cell directly below it (or to the right).
- Select both cells to highlight the pattern.
- Click and drag the Fill Handle across your desired range.
You can also use this technique to autofill other custom numerical intervals, such as skipping numbers to create a sequence of odd numbers (1, 3, 5, 7) or even numbers (2, 4, 6, 8). Just type the first two numbers of the sequence, highlight them both, and drag.
Dates & Times
Unlike standalone numbers, Excel is designed to automatically recognize date and time formatting. When you enter a single date or time and drag the fill handle, Excel will intelligently increment it by one unit sequentially without needing a two-cell pattern.
- Dates: If you enter a date such as 10/1/2026 in a cell and drag the fill handle down, Excel will automatically increment the data day-by-day (e.g., 10/2/2026, 10/3/2026, 10/4/2026).
- Times: Similarly, if you enter 9:00 AM and drag, Excel will populate the subsequent cells hour-by-hour (e.g., 10:00 AM, 11:00 AM, 12:00 PM).

Autofill Options and Techniques
When you use the Fill Handle, Excel doesn’t just blindly copy data—it provides advanced context menus to control exactly how that data behaves. Here are the core techniques you need to know:
- Using the Auto Fill Options Tag: Whenever you drag the fill handle, a small smart tag icon appears at the bottom right corner of your newly populated data range. Clicking this menu allows you to retroactively change how Excel filled the cells.
- Fill Series vs. Copy Cells: If Excel accidentally counts sequentially (1, 2, 3…) when you just wanted it to repeat the same number (1, 1, 1…), click the Auto Fill Options tag and switch from Fill Series to Copy Cells.
- Fill Formatting Only: This option is incredibly useful if you want to copy a complex visual style (like cell borders, background highlights, or custom fonts) down a column without overwriting any of the existing data or numbers already typed there.
- Instant Drag and Fill (The Double-Click Trick): Instead of manually dragging the Fill Handle down thousands of rows, simply double-click the small square. Excel will instantly scan the adjacent column to the left and automatically drop your data down to match its exact length perfectly.
Modern AI Autofill: Next-Gen Formula Completion
Manually dragging cells down thousands of rows is a thing of the past. Excel in 2026 fully integrates proactive artificial intelligence that detects your intent and fills complex rows or columns automatically.
Copilot Column Formula Suggestions
When you click into an empty column alongside an active data set and type an equals sign (=), Excel’s built-in Copilot engine automatically analyzes your nearby column headers and context. It will instantly generate a gray preview text of a suggested formula for the entire column.
- To accept the AI’s autofill suggestion, simply press Tab or click Accept. The formula will instantly drop down the entire height of your table.
The =COPILOT() Function for Textual Analysis
If you need to fill a column with creative or analytical data—such as categorizing the sentiment of legal notes, translating text, or extracting phone numbers—you can use the dedicated AI function:
=COPILOT(“Your descriptive prompt here”, [context_cell])
Instead of rewriting it for every row, you simply type the prompt once pointing to the first cell, and then use the Fill Handle (or double-click it) to fill down. The AI will evaluate each row independently, filling out your spreadsheet with intelligent textual analysis in seconds.
AutoFilling Formulas
Traditional formula replication remains an essential skill when working with custom mathematical equations. If you need to apply a basic formula—such as summing a row or calculating a percentage—down a data sheet, Excel makes it seamless to copy without manually re-typing.
To quickly autofill a standard formula:
- Enter your equation (e.g., =SUM(B2:D2)) into the first cell of your column and press Enter.
- Select that cell again and double-click the Fill Handle (the small square in the bottom-right corner) to instantly send it down the entire column.
As Excel auto-fills down the column, it utilizes Relative Cell References. This means the formula automatically shifts its row focus as it moves downward (adjusting from row 2, to row 3, to row 4), ensuring every single row calculates its own unique data accurately..
Best Practices and Troubleshooting
Here are some updated best practices and troubleshooting tips to help you get the most out of your 2026 workflow:
- Leverage Instant Keyboard Shortcuts: To fill down or right instantly without touching your mouse, highlight your target data range starting with the active cell and press Ctrl + D (Fill Down) or Ctrl + R (Fill Right).
- Give AI Engines Clear Context: Copilot’s automated formula predictions rely heavily on your table setup. Ensure your rows have clear, descriptive column headers so the AI engine can accurately anticipate your mathematical intent.
- Keep an Eye on the Auto Fill Tag: If Excel ever guesses wrong (like changing a list of repeating account IDs into a counting sequence), click the small smart tag icon that pops up at the bottom right of your selection and toggle to Copy Cells.
- Verify Complex AI Functions: When dragging or double-clicking the =COPILOT() function down massive data sets, quickly skim the output data to ensure the formatting matches your original prompt rules.
In this tips series, experts from Affinity Consulting Group offer straightforward answers to common questions about popular software programs used in law offices. These tips are from their book “Microsoft Excel for Legal Professionals.” Written specifically for lawyers and legal professionals, it is is an easy read, full of numbered steps and screen illustrations. Download your copy of the book in the Attorney at Work bookstore, or opt for a license for all your attorneys.
Image: ©iStockphoto.co
More Microsoft Office Tips:
How to Master Page Numbers in Microsoft Word
Using Styles to Create an Automated Table of Contents in Microsoft Word (Video)